
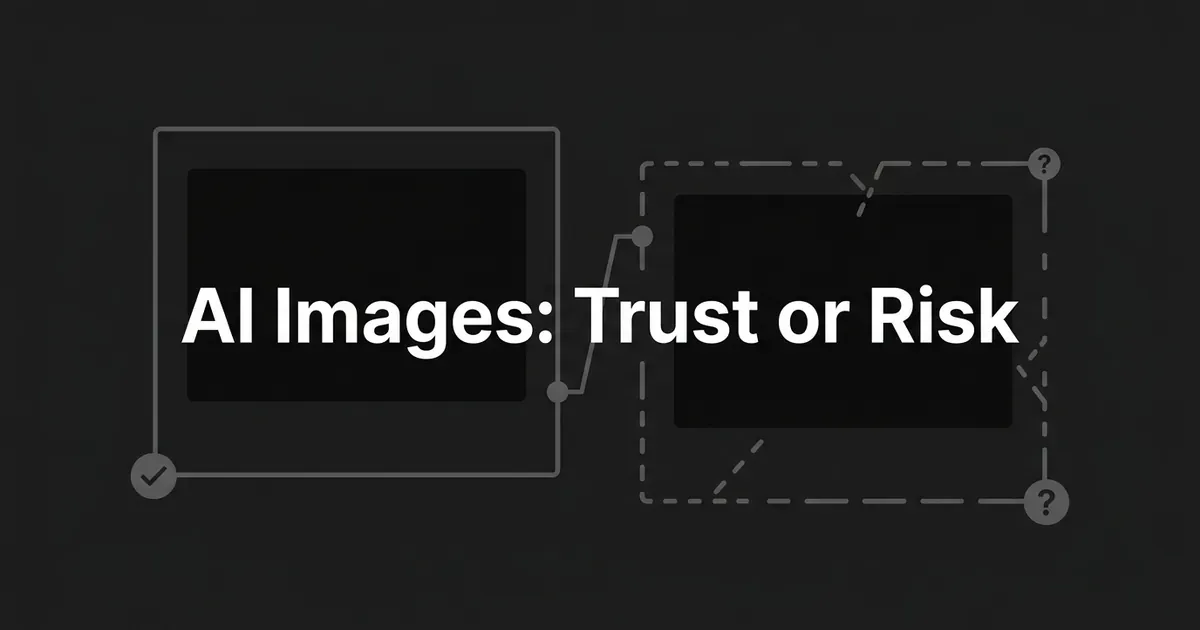
If you are wondering whether it is safe to use ai generated images blog content can carry, the short answer is yes, but only for some jobs and not for others. An abstract hero image about a concept like growth or workflow is a different decision than an image that looks like it is showing your product, a real customer, or a real result. By the end of this guide you will have a repeatable way to sort any image into a safe category, catch the ones that will cause trouble, and know what to do with each one before you hit publish.
You do not need a design background for this. You need a habit: ask what the image is claiming before you ask whether it looks good. That habit is really the whole story behind ai generated images trust: readers trust what they can verify, and they stop trusting the moment an image asks them to believe something that is not real.
Step 1: Classify what the image is supposed to prove
Before you look at the image itself, write one sentence answering this question: what would a reasonable reader believe this image shows? Do this before you even open the image generator. Starting with the prompt instead of the reader's interpretation is how teams end up defending an image after the fact instead of choosing it well in the first place.
Sort every image into one of four buckets.
- Decorative. It adds mood or breaks up the page but does not tell the reader anything.
- Illustrative. It explains an idea or represents something clearly fictional, like a maze standing in for a complicated process.
- Documentary. It claims to show a real person, place, event, or result.
- Evidentiary. It backs up a factual, product, or comparative claim.
This sorting step is the real answer to whether you should use ai generated images blog content at all: it depends entirely on which bucket the image lands in. AI-generated images are on solid ground in the first two buckets. The second two need a real source or a separately verified visual, because no amount of good intent turns a synthetic image into proof of something real.
How you know you're done: you can point to the bucket you picked for this image and explain why in one sentence, and that sentence is written down somewhere your team can see later.
Common mistake: calling something "just a hero image" when it clearly shows your product, a real-looking customer, or a specific outcome. Where the image sits on the page does not change what it claims. A fake product shot at the top of the article is still a fake product shot.
Step 2: Decide whether the image is illustrative or evidentiary
Once you know the bucket, run the image through five questions before you approve it.
- Would a reader assume this is a photograph?
- Does it show something the article treats as real?
- Could someone use it to judge how the product actually looks or performs?
- Does it depict a person, place, event, or number the text presents as fact?
- Would the meaning of the article change if the reader learned the image was synthetic?
If you answer yes to any of the last four, do not use a generic AI image as a stand-in for evidence. Swap it for a real, approved asset, a chart built from real numbers, a hand-built diagram, or plain text that explains the idea without pretending to document it.
Google's own guidance on generative AI content is not about whether AI touched the page. It is about accuracy, quality, and whether the content adds real value for the person reading it. The same test applies to a picture. An image should make the article clearer, not fill a slot because every post is supposed to have one.
Pro tip: pull the image out of the draft for a minute. If the paragraph next to it gets harder to follow, the image is doing real explanatory work and deserves a careful review. If nothing changes except the page looks a little emptier, it was decoration, and you should judge it mainly on relevance and whether it could be mistaken for something it is not.
Step 3: Test the image for product, person, and result misrepresentation
This is the step that catches the mistakes that actually damage trust, so slow down here.
The product test. Never let a generated image stand in for your real product. Image generators are good at producing something that looks plausible and is wrong in a dozen small ways: a button that does not exist, an interface with the wrong layout, packaging that is close but off. If you need the reader to recognize your actual product or understand how it works, use the real thing. If a conceptual image is genuinely useful, say plainly that it is an illustration and that it does not show the actual product.
The results test. Do not generate a before-and-after image to represent something a real customer experienced. Do not show a product producing a result you have not actually seen happen. This matters most for anything touching health, money, or performance, where the image and the words around it combine to create an impression, and regulators judge that combined impression, not just whether the sentence next to the picture was technically true. If you are not sure a result claim holds up, run it through the same discipline you would use to fact-check an AI draft before it goes anywhere near the page.
The person and endorsement test. Do not generate a realistic-looking person and present them as a customer, an expert, or someone who endorses your product. A fictional persona is fine for an illustration as long as the surrounding text makes clear it is not a real testimonial.
The event and location test. Do not generate an image of a real-looking event, office, or customer site and caption it as though it were a photograph. If you need it for explanation, label it as a conceptual illustration and avoid details that make it look documentary.
How you know you're done: someone other than the person who made the image has looked at it and confirmed it could not reasonably be mistaken for your actual product, a real person, a real event, or a real result.
Step 4: Review the image for bias, sameness, and visual errors
Representation. Research on text-to-image systems keeps finding stereotypes baked into the defaults, even when nobody asked for them. One global-scale analysis of visual stereotypes looked at how 135 nationality-based groups were represented by default and found that 121 of them came out closer to a stereotyped version than a neutral one. A separate study of hospital roles generated a hundred images each for five professions across six models and found nurse images came out 100% female across every model, while surgeon images came out 92% to 100% male in all but one. Treat findings like these as a reason to look closely at what a model handed you, not as a reason to add a demographic word to your prompt and call it solved. That approach tends to produce tokenistic results instead of fair ones.
Look for repeated defaults in professional roles, exaggerated cultural markers, and a generic "AI person" look that could belong to any brand. That kind of flatness is part of what makes writing feel human or not, on the page around an image as much as in the image itself.
Sameness. There is not solid research proving AI images are more repetitive than stock photography as a rule, so treat "stock-photo sameness" as something to check for, not a fact to assume. Here is a fast way to check it: put the image next to five recent articles in the same category. If it could slot into any of them without changing what the page means, it is commodity decoration. This is the same test you would use to spot and fix AI slop in the text around it. Give it a specific job or cut it.
Technical errors. Look at the full image, not the thumbnail. Check for wrong text or numbers baked into the picture, odd hands or reflections, product details that do not match between images, and anything that looks realistic enough that a reader might take it as a real photo when it is not.
How you know you're done: a person has opened the image at full size and checked it for representation, factual implication, and basic quality, not just glanced at the preview.
Step 5: Choose the right disclosure and caption
Put disclosure where the reader will actually see it, not buried in file metadata or the alt attribute that only a screen reader picks up. Match the wording to what you actually did.
For an abstract or conceptual image: "AI-generated illustration. This image is conceptual and does not depict a real person, place, product, or event."
For a product-category visual: "AI-generated illustration. The product shown is not the actual product."
For an image where a real photo was combined with AI-generated background elements: "AI-assisted illustration. The person and product are real; the background has been generated or modified with AI."
Do not call a fully generated image "AI-assisted" if there is no real human-made visual left in it, and do not call a fictional scene a photo.
Disclose when a reader might reasonably think the image is a real photograph, when it shows a person, product, result, or place, when the topic touches health, money, or safety, or when the image has been substantially changed by AI. Google's own content guidance says explaining how something was made can give readers useful context, which supports doing this thoughtfully rather than slapping a label on every single image out of habit. This is the same risk-based judgment covered in whether you disclose when content is AI-assisted more broadly, and it applies just as well to a single image.
One thing a disclosure cannot do is fix a misleading image. Advertising regulators are clear that a label does not repair the harm from a message that is fundamentally misleading in the first place. The order that actually works is: remove the misleading part, replace the image if you have to, then add a disclosure where it helps the reader understand what they are looking at.
Common mistake: treating the caption as a legal shield. A caption cannot make a fake result or a misrepresented product accurate. If the image creates a false impression, fix the image first.
Step 6: Make the image accessible and search-readable
Alt text should describe what the image means in context, not announce how it was made. For an informative image, describe what matters. For a purely decorative one, leave the alt attribute empty. If the image contains text that is not repeated nearby, include that text in the description. Imagine the page being read aloud to someone who cannot see the image and write the alt text to serve that person, putting the important part first and skipping words like "image" or "picture" unless they add real clarity. If you want a structured way to decide, W3's alt decision tree walks through exactly these cases.
Do not turn alt text into a keyword list. Google is explicit that stuffing keywords into alt text creates a worse experience for readers and can make a page look spammy, which works against you rather than for you.
Save the visible disclosure for a caption, since a caption can say things alt text is not built to carry, like "this is a conceptual illustration, not a photo of the product." For anything with real data in it, put the actual numbers and conclusion in the page text too. Never make the image the only place a reader can get a number or a comparison.
On the technical side, use a standard image element so it can be crawled, place the image near the text it relates to, give the file a short descriptive filename instead of something generic, and keep the image lightweight so it loads fast. Handled well, this also helps you optimize images for Google AI Overviews and visual search, since the same fundamentals serve both jobs.
This is one of the places where a production tool genuinely helps without replacing your judgment. DeepSmith's Content Studio produces each article with a cover image and metadata already built in as part of the writing pipeline, so you are not starting alt text and captions from a blank page. You still run the checks above on every image it produces before it goes out, because a tool building the scaffolding does not skip the human review this whole guide is about.
Step 7: Preserve provenance, rights information, and an editorial record
Keep a short record for every image you publish: where it came from, when it was made, who approved it, whether it contains anything that looks like a real trademark or a recognizable person, and what license or terms apply. This is not busywork. It is what lets you answer a question about any image on your site months later without guessing.
Content Credentials, built on the C2PA standard, can attach a record to a file describing how it was created and edited. That record is useful context, but it is not a truth guarantee. It can tell you which tool made an image; it cannot tell you whether a product claim in the article next to it is accurate. Human review still has to happen, the same human review and QA gates that should catch everything else your pipeline produces.
On copyright, the U.S. Copyright Office's current position is that a work created entirely by AI is not protected by copyright in the United States, though human-authored elements added on top of a generated image can be. That is a separate question from whether you are allowed to use the image commercially, since tool terms and any third-party rights in the image still apply regardless of copyright status.
Keeping your visual style consistent while you do all this does not have to mean redoing the art direction from scratch every time. Deep IQ's Visual Guidelines module holds your palette, illustration style, and typography once, so every generated cover pulls from the same brand direction instead of drifting piece by piece. That consistency is part of the same brand consistency QA checklist you should already be running on AI-produced content, and it is about brand recognition, not proof of anything factual, so it does not replace the checks in the earlier steps.

How you know you're done: you can say where an image came from, what it shows, who signed off on it, and why its use does not create a false impression, for any published image, on request.
Step 8: Protect the page's AI-search eligibility with strong text and evidence
Here is what Google actually says about AI Overviews and AI Mode: the page has to be eligible for regular Google Search in the first place, the important content needs to exist as real text on the page, and there is no special file format or markup required just for AI features. High-quality, relevant images can support the text. They do not replace it.
What the evidence does not say is also worth knowing. There is no public Google statement that an AI-generated image, by itself, keeps a page out of AI answers. There is also no reliable benchmark showing that adding or removing a synthetic image changes citation rates in ChatGPT, Gemini, Perplexity, or Google's own AI features. Anyone telling you a real photo earns citations, or that a synthetic image blocks them, is not working from evidence that exists yet. This mirrors the wider question of whether Google penalizes AI-generated content: the format is not the issue, weak quality is.
Where an AI-generated image actually can hurt your AI search visibility is indirect: if it makes the page look careless, generic, or hard to trust, a reader and a crawling model both notice, and that drags the whole page down. Put your answer and your evidence in text a model can read. Make your claims specific. Add examples and firsthand detail the AI cannot get from ten other pages that all sound the same. Use the image to support that text, never to carry the weight of a claim on its own. This is the same ground covered by E-E-A-T for AI search: trust and authority, more than image format, is what a model is actually weighing.
Once a piece is in decent shape, DeepSmith's Produced Content workflow gives you one place to review the full draft, the image choices, and the metadata together before anything goes live, which is a good last stop for exactly the checklist this guide walks through. It is also a natural point to ask again whether you should use ai images in content for that specific piece, now that the text around the image is finished and you can see what it is actually being asked to carry.

What to do next
The pattern across every step above is the same one that decides ai generated images trust in the first place: an image that only works if the reader believes it is real is the wrong image, and an image that is honestly what it is rarely costs you anything. Start with your highest-traffic articles rather than trying to audit everything at once. Open each hero and inline image, run it through the classify-and-test steps above, and replace anything that could be mistaken for a real product, person, or result. Once you have cleared the highest-risk pieces, write down the rule your team just used as an actual approval step, so the next writer or designer does not have to relearn it from scratch. A one-page checklist beats a policy document nobody reads.
If you want your next batch of articles to come with this review already built into the pipeline rather than added after the fact, DeepSmith's Content Studio can produce the draft, the cover image, and the metadata together during writing, with your Visual Guidelines applied automatically. You can try it with a free trial and see what a publish-ready article with the image work already done actually looks like.